Unmasking an Experience: A recap of the Central City Mask-Making Workshop

Last Updated 10/28/2022

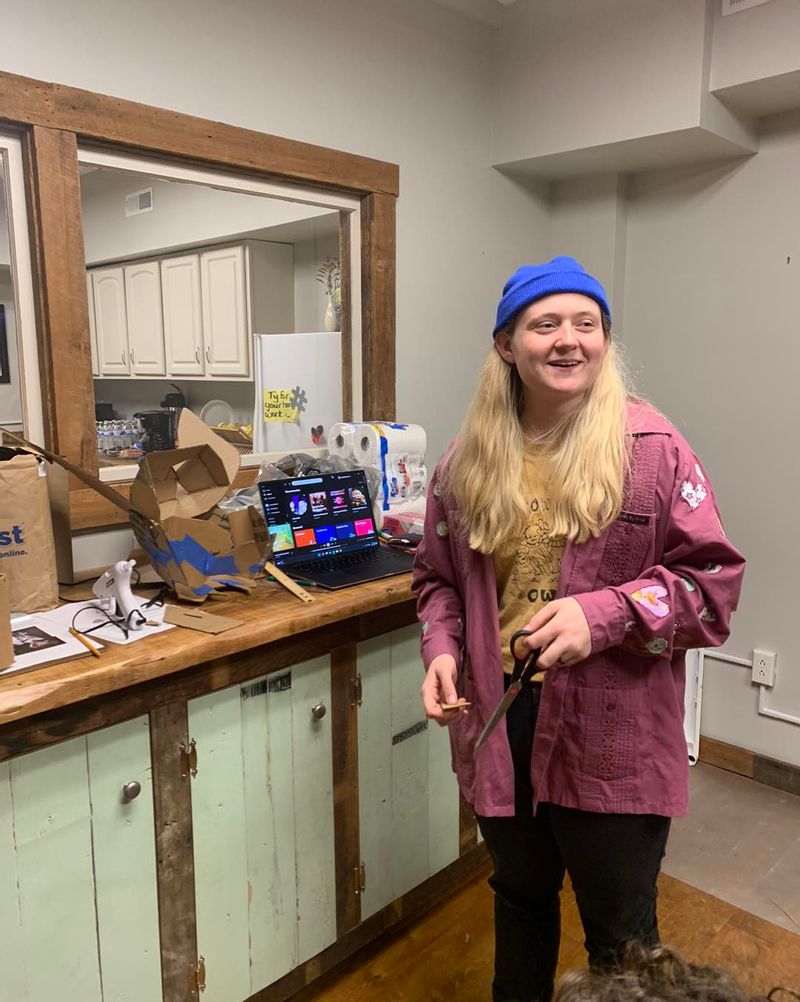
Sa-Rai Robinette Leads the Workshop

Professional Artist, Sa-Rai Robinette, lead the mask-making workshop as she is a professional mask-maker and skilled in paper mache. The Artist had three different types of Halloween mask instructions for participants to follow along and mirror. The three models included a skull (beginner), a bat (intermediate), and a Frankenstein (expert). This three-day workshop was a neat upcycling project that can be taught and then done in the comfort of your home. For those who weren't able to make it, you can read this short blog on how we created our masks! See below for the final result.

Step One: Draw and Cut

For the first step, participants drew and cut their masks out and carefully planned it with the help Sa-Rai and the detailed instructions. Some participants used the instructions as inspiration and created their own interpretations of a spooky mask!

*Tip: Use a box cutter rather than a xacto knife for clean edges!

Step Two: Paste your pieces together

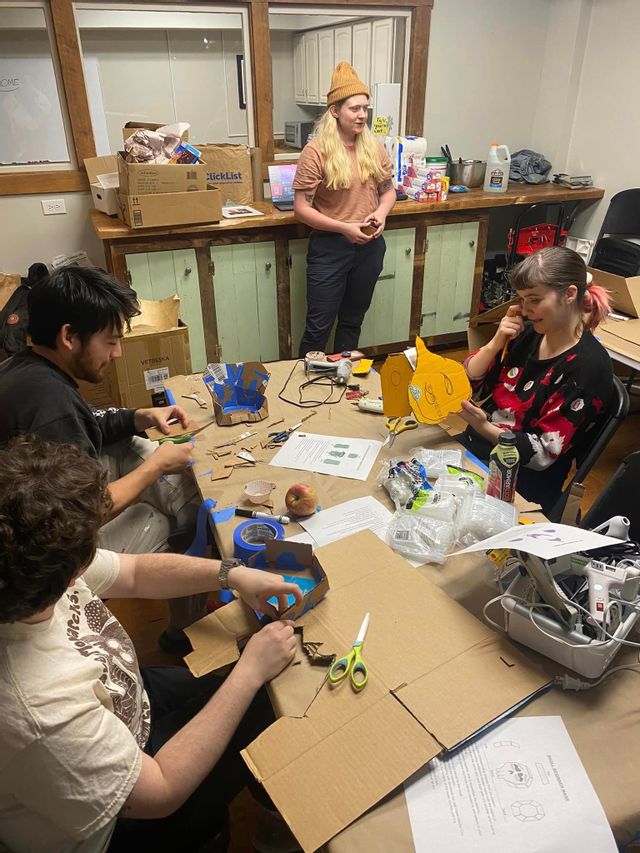
For the next step, participants pasted their pieces together using hot glue. It was easy to tape the pieces together first, using painter's tape or masking tape. 


*Tip: Ensure there are no gaps and edges fit perfectly so paper mache mixture will not seep through the holes!

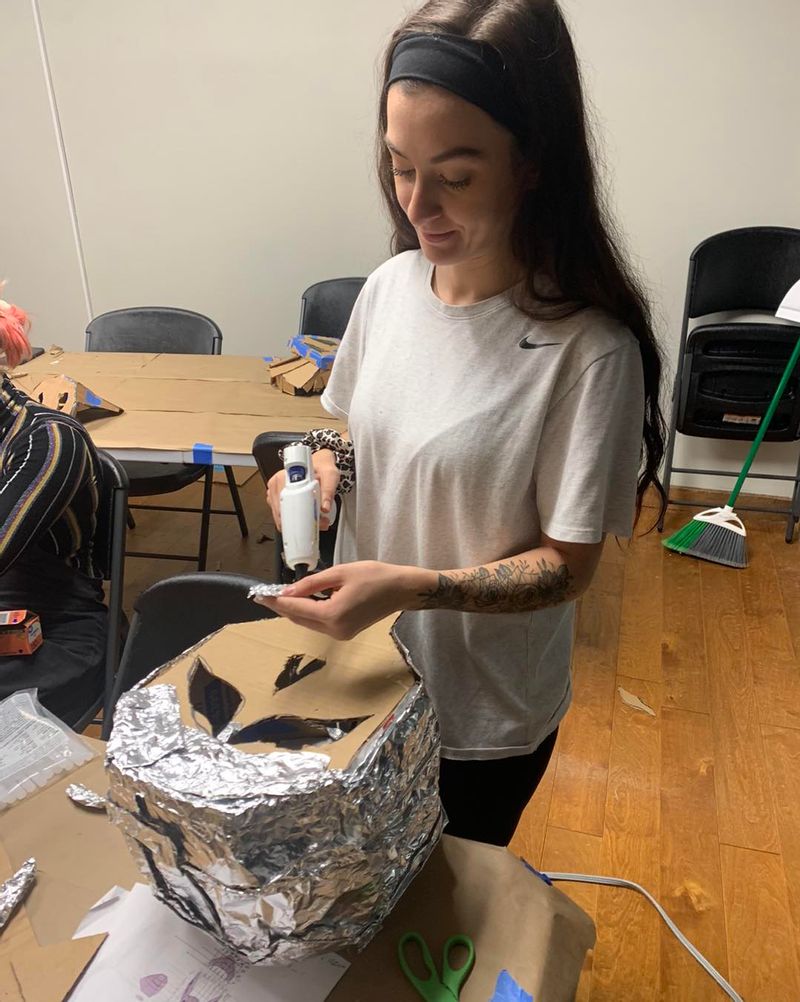
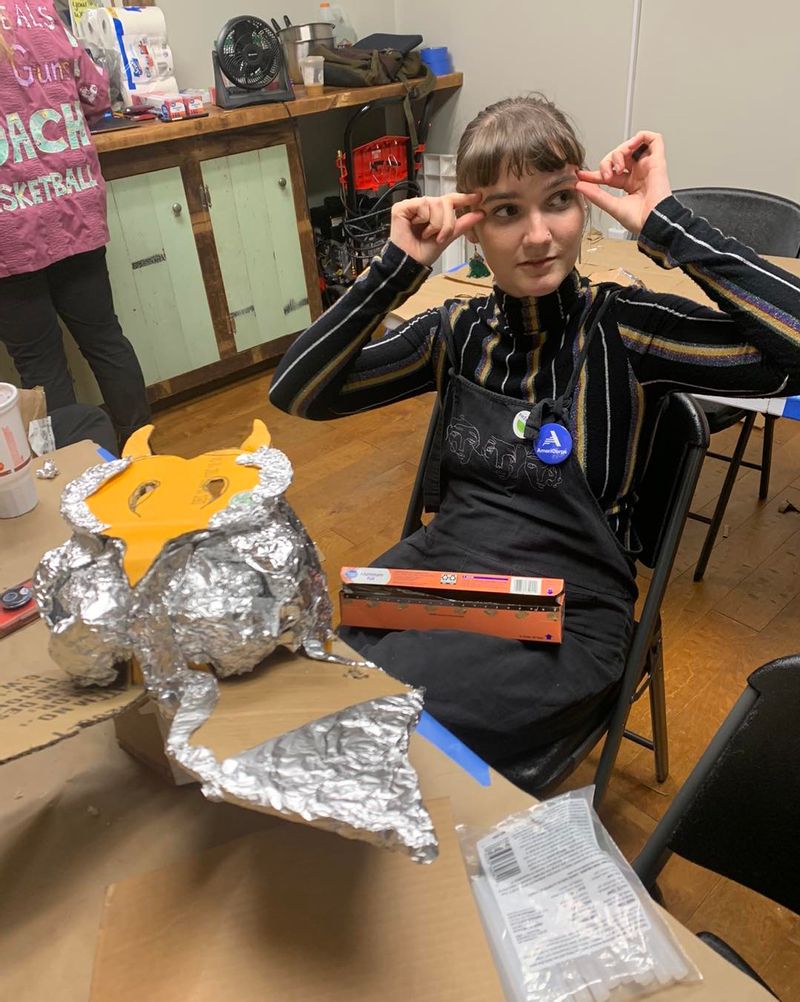
Step Three: Foil and paper mache!

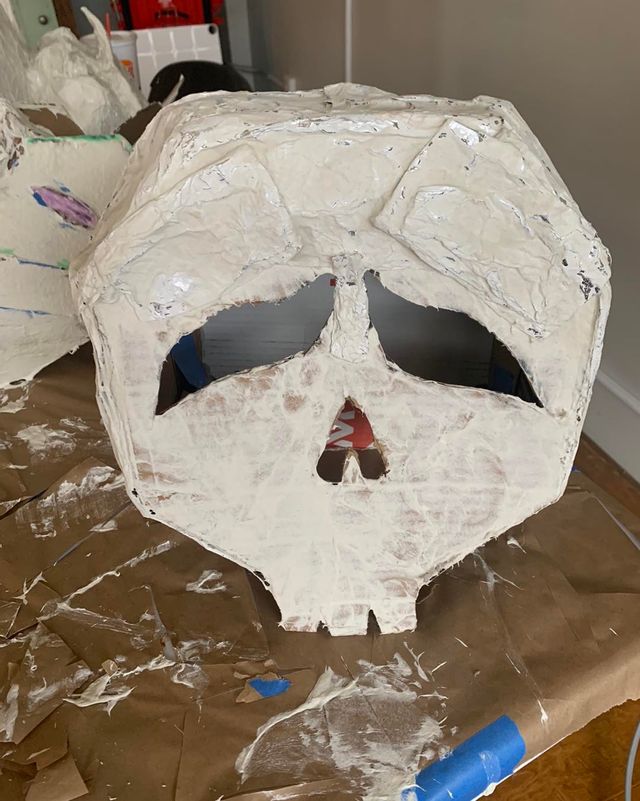
To add dimension, participants wrapped their masks in aluminum foil. Make sure if you are doing this from home that you are hot gluing the foil to the mask to ensure it's sealed and secured.

Then, participants learned how to mix the clay paper mache mixture! You can watch this process here. Sa-Rai did not want to take the credit for being the paper mache queen; however, she does credit Jonni Good, from Ultimate Paper Mache, for the recipe used! Participants then spread their paper mache mixture onto their masks in a thin layer. It takes two days to dry!

Things you will need:

  • Flour
  • Elmers clear glue
  • Drywall Mud
  • Toilet Paper and water (or newspaper if you are using a blender)
  • Spatula 
  • Hand Mixter (blender for newspaper)
  • Two mixing bowls

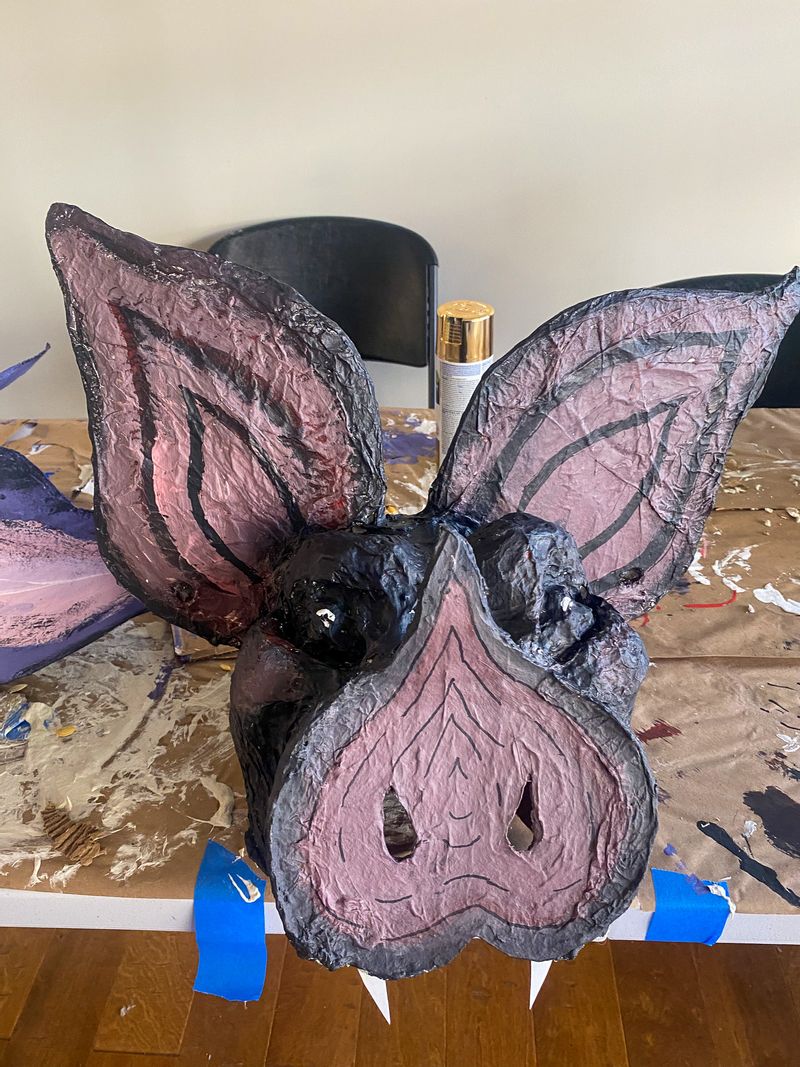
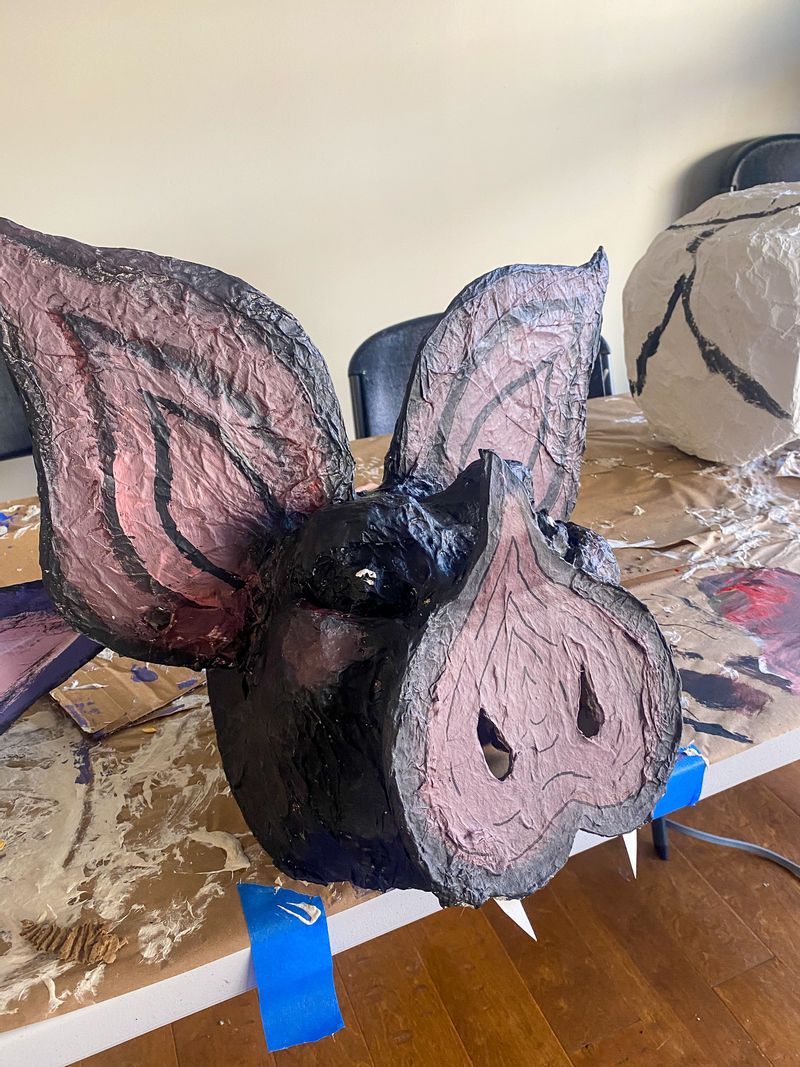
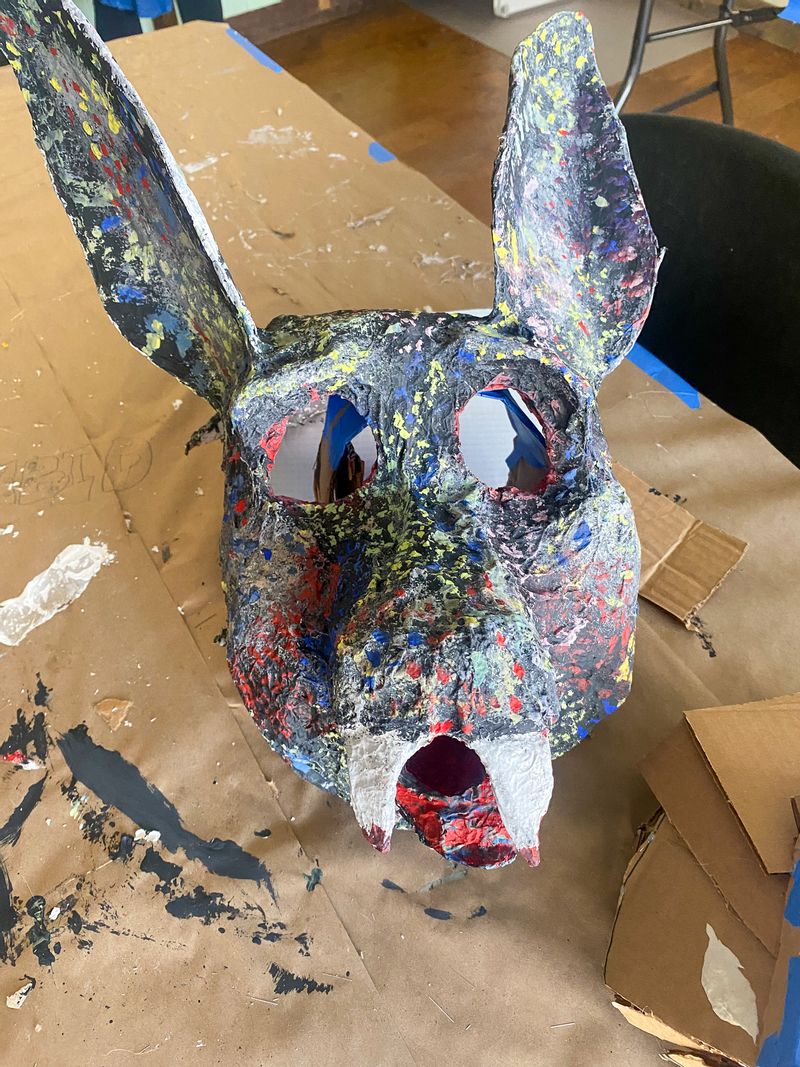
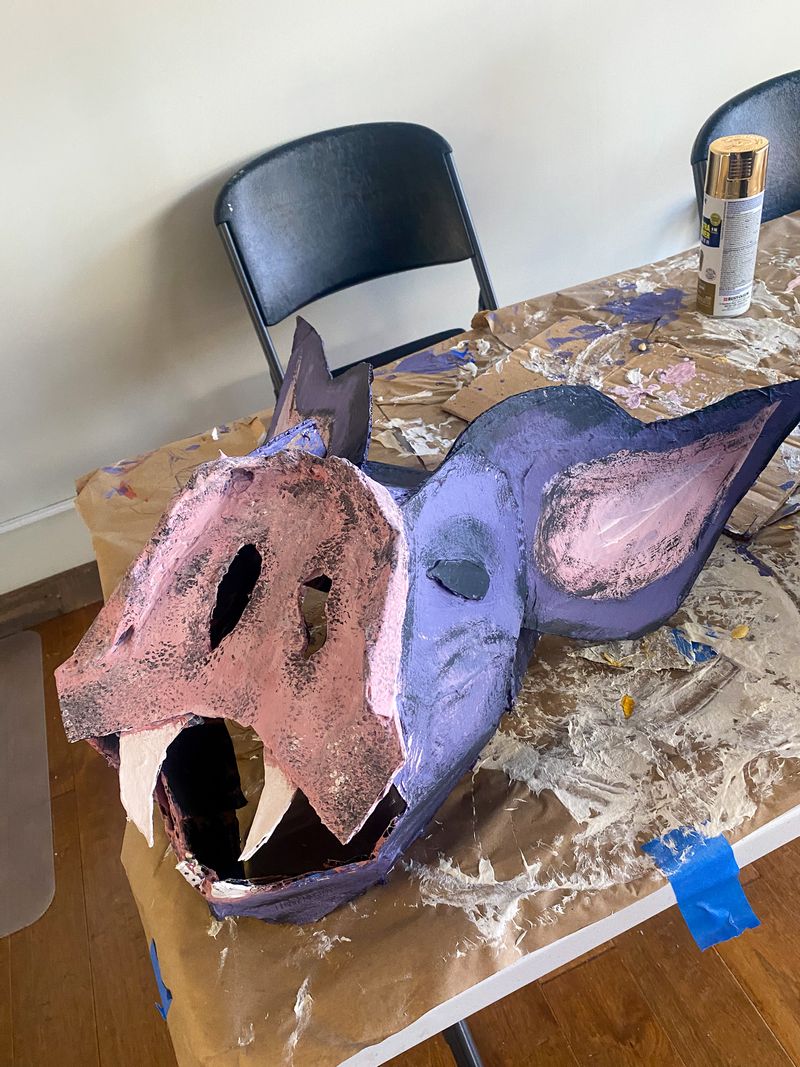
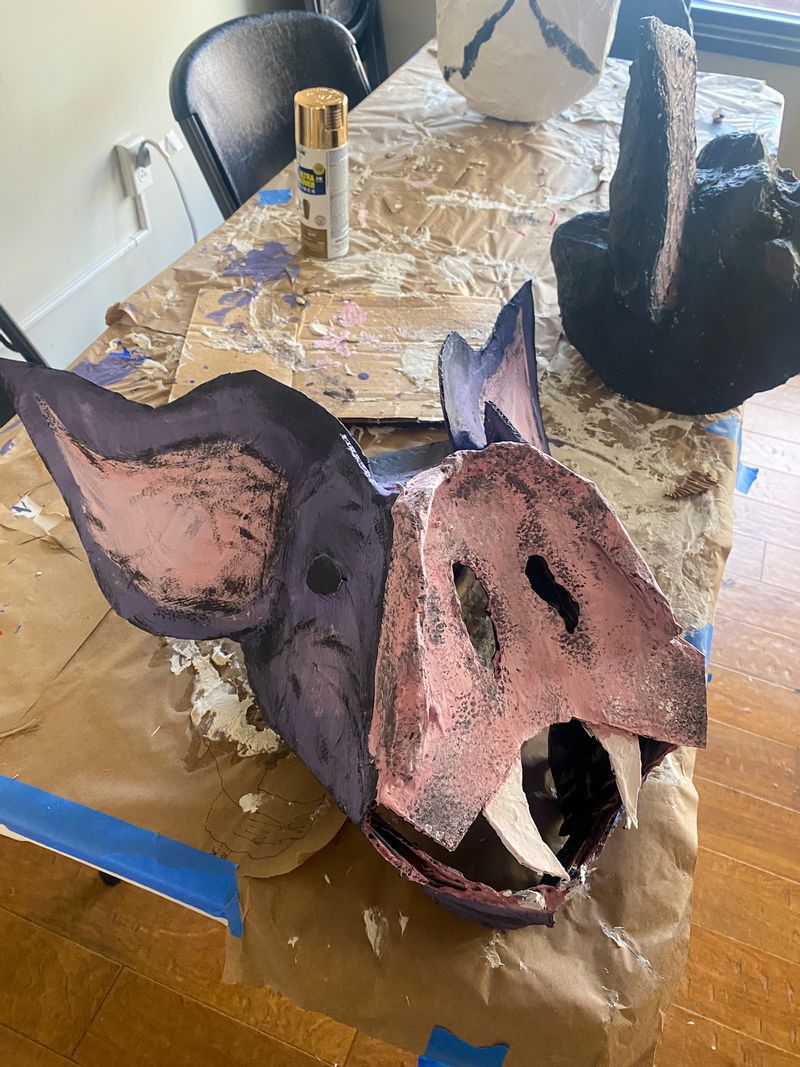
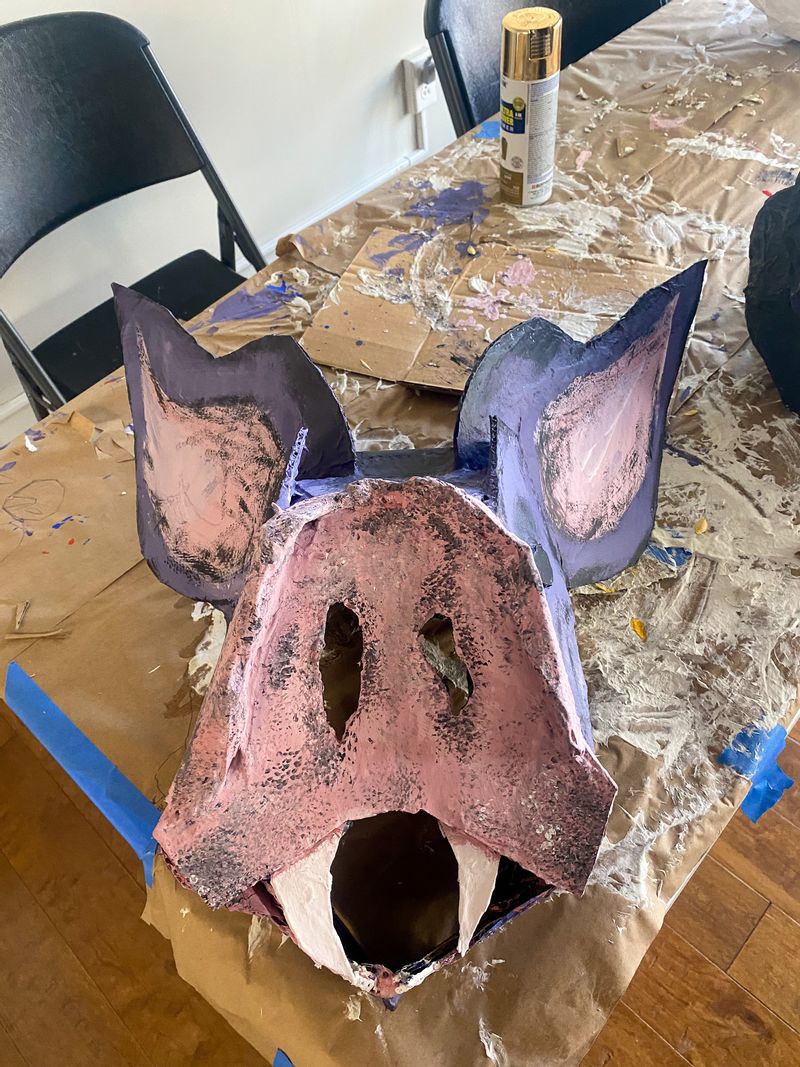
Final Step: Paint and Complete

Once the paper mache is completely dry, participants painted their masks and added their own details! See the final results below! 

Click an image below to display the larger version.

Subscribe to Our Newsletter

Get updates and info delivered via email

Vintage Kentucky Derby Hats at Hattie and Nan's Antiques... The 151st Kentucky Derby is right around the corner, and there's no better way to celebrate than with a touch of timeless fashion. At Ha...
The Central City Look: A Vintage Easter Fit You’ll LoveEaster is here, and The Central City Look is bringing the charm with a classic vintage outfit that’s perfect for your Sunday celebration...
April Drink Special at Cicada Books and CoffeeDon't miss out on the April Drink Special at Cicada Books and Coffee! This month, they are offering Blackberry Lemonade. Stop in during ...
Central City Look: Embrace Spring in Yellow!Spring has finally arrived, and we are back with more amazing Central City Looks ! As the sun begins to peak through the clouds, giving ...
2025 Indie Bookshop Hop!
Apr 25, 2025
11:00 AM EDT
604 14th Street W
Huntington, WV 25704
Read More 
Historic Marker Clean-Up Day 2025
Apr 25, 2025
12:00 PM EDT
544 14th St W
Huntington, WV 25704
Read More 
Thistle Patch Spring Furniture Sale
Apr 26, 2025
10:00 AM EDT
444 14th St W
Huntington , WV 25704
Read More 
Stink Fest 2025!
Apr 26, 2025
11:00 AM EDT
555 14th St W
Huntington , WV 25704
Read More